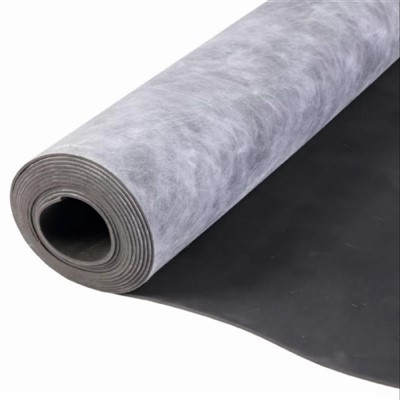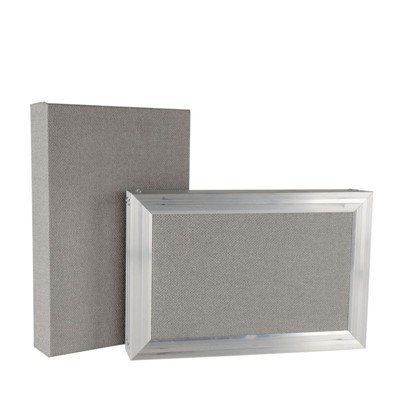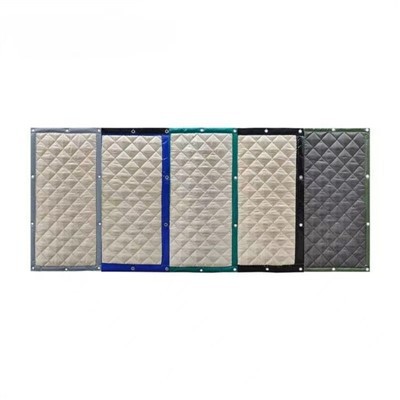


Soundproofing your space is a crucial step in creating a peaceful and comfortable environment, whether it's a home theater, a recording studio, or a noisy urban apartment. One of the most effective materials for soundproofing walls is Soundsulate Mass Loaded Vinyl. As a trusted supplier of Soundsulate Mass Loaded Vinyl, I am excited to share a comprehensive guide on how to install this remarkable product on your walls.
Understanding Soundsulate Mass Loaded Vinyl
Before diving into the installation process, let's take a moment to understand what Soundsulate Mass Loaded Vinyl is and why it's an excellent choice for soundproofing. Soundsulate Mass Loaded Vinyl is a flexible, dense, and durable material designed specifically to reduce sound transmission. It is made from a combination of vinyl and inorganic fillers, which gives it a high mass per square foot. This high mass is what makes it so effective at blocking sound waves, as sound energy is absorbed and redirected rather than passing through the material.
Loaded Vinyl Soundproofing is a versatile solution that can be used in a variety of applications. Whether you're looking to reduce traffic noise, airborne conversation, or the thumping of bass from a home entertainment system, Soundsulate Mass Loaded Vinyl can help create a quieter and more private space.
Materials and Tools You'll Need
To ensure a successful installation of Soundsulate Mass Loaded Vinyl on your walls, you'll need the following materials and tools:
- Soundsulate Mass Loaded Vinyl: Purchase the appropriate amount based on the square footage of your walls. You can choose from different thicknesses and densities depending on your specific soundproofing needs.
- Adhesive: A high-quality construction adhesive designed for vinyl materials is recommended. Make sure to follow the manufacturer's instructions for the best results.
- Utility Knife: A sharp utility knife for cutting the vinyl to size.
- Measuring Tape: To accurately measure the dimensions of your walls and the vinyl.
- Straight Edge: Use a straight edge or a level to ensure straight cuts.
- Roller: A handheld roller or a paint roller can be used to smooth out the vinyl and remove air bubbles after installation.
- Safety Equipment: Wear safety glasses, gloves, and a dust mask to protect yourself during the installation process.
Step-by-Step Installation Guide
Step 1: Prepare the Wall
The first step in installing Soundsulate Mass Loaded Vinyl is to prepare the wall surface. The wall should be clean, dry, and free of any dust, dirt, or debris. If the wall has any imperfections, such as holes or cracks, fill them with spackle or joint compound and allow them to dry completely. Sand the surface smooth to ensure a good bond between the vinyl and the wall.
Step 2: Measure and Cut the Vinyl
Measure the height and width of the wall where you want to install the vinyl. Add a few extra inches to each measurement to allow for trimming and overlapping. Use a measuring tape and a straight edge to mark the vinyl according to your measurements. Then, use a sharp utility knife to cut the vinyl along the marked lines. Make sure to make clean, straight cuts to ensure a professional-looking installation.
Step 3: Apply the Adhesive
Apply a thin, even layer of adhesive to the back of the vinyl using a notched trowel or a paintbrush. Make sure to cover the entire surface of the vinyl, including the edges. Be careful not to apply too much adhesive, as this can cause the vinyl to buckle or wrinkle during installation.
Step 4: Install the Vinyl
Starting at the top of the wall, carefully position the vinyl against the wall and press it firmly into place. Work your way down the wall, smoothing out the vinyl as you go to remove any air bubbles. Use a roller to apply even pressure and ensure a strong bond between the vinyl and the wall. If you're installing multiple sheets of vinyl, overlap the edges by at least 2 inches and seal them with adhesive to prevent sound leakage.
Step 5: Trim the Edges
Once the vinyl is installed, use a utility knife to trim the excess vinyl along the edges of the wall. Make sure to cut the vinyl flush with the wall for a clean, professional finish.


Step 6: Seal the Seams
To further enhance the soundproofing performance of the installation, seal the seams between the vinyl sheets with a high-quality acoustic sealant. Apply the sealant to the seam and use a putty knife to smooth it out. Make sure to fill any gaps or voids to prevent sound from leaking through.
Tips for a Successful Installation
- Work in sections: If you're installing the vinyl on a large wall, work in small sections to make the installation process more manageable.
- Use a helper: Installing Soundsulate Mass Loaded Vinyl can be a two-person job, especially for larger sheets. Having a helper can make the process easier and ensure a more accurate installation.
- Allow the adhesive to dry: Before moving furniture or hanging pictures on the wall, allow the adhesive to dry completely according to the manufacturer's instructions.
- Insulate other areas: In addition to installing Soundsulate Mass Loaded Vinyl on your walls, consider insulating other areas of your space, such as the ceiling and floors, to further reduce sound transmission.
Benefits of Choosing Our Soundsulate Mass Loaded Vinyl
As a supplier of Soundsulate Mass Loaded Vinyl, we take pride in offering a high-quality product that delivers exceptional soundproofing performance. Here are some of the benefits of choosing our Soundsulate Mass Loaded Vinyl:
- Superior Soundproofing: Our Soundsulate Mass Loaded Vinyl is designed to block a wide range of sound frequencies, from low-frequency bass to high-frequency voices. It provides a significant reduction in sound transmission, creating a quieter and more comfortable environment.
- Easy to Install: Our vinyl is flexible and easy to cut, making it suitable for DIY installation. Whether you're a professional contractor or a homeowner looking to tackle a soundproofing project on your own, our Soundsulate Mass Loaded Vinyl is a great choice.
- Durable and Long-Lasting: Made from high-quality materials, our Soundsulate Mass Loaded Vinyl is resistant to wear, tear, and moisture. It is built to last, providing years of reliable soundproofing performance.
- Fire-Resistant: Our vinyl is treated with fire retardants to meet fire safety standards, providing an added layer of protection for your home or business.
Contact Us for Your Soundproofing Needs
If you're interested in purchasing Soundsulate Mass Loaded Vinyl for your soundproofing project, we'd love to hear from you. Our team of experts is available to answer any questions you may have and provide you with a free quote. Whether you're a small business owner looking to create a quiet office space or a homeowner looking to transform your home theater, we have the products and expertise to help you achieve your soundproofing goals.
Simply reach out to us, and we'll be happy to discuss your specific requirements and guide you through the purchasing process. Let us help you create a peaceful and comfortable environment with Soundsulate Mass Loaded Vinyl.
References
- Akustik, R. (2019). Soundproofing Handbook: The Complete Guide to Acoustic Treatment in Home Recording Studios and Listening Rooms. Springer.
- Beranek, L. L. (1971). Noise and Vibration Control. McGraw-Hill.
- Craik, R. J. M. (2007). Handbook of Audio Acoustics. Springer.