

If you've ever stepped into a sunlit lecture hall, a cozy café that doesn't hum with distracting echo, or a home studio where vocals sound crisp without sounding boxy, you've probably experienced the quiet magic of wood wool panels. As a supplier who's worked with architects, interior designers, and small business owners for nearly a decade, I've fielded dozens of questions from first-time buyers: "Do wood wool panels have any special installation requirements?" The short answer is yes-but these requirements aren't arbitrary rules; they're rooted in the material's unique makeup, and following them will make your panels perform far better than just "look good" on a wall. Let's break down what you need to know, straight from the folks who manufacture and install these acoustic gems every day.
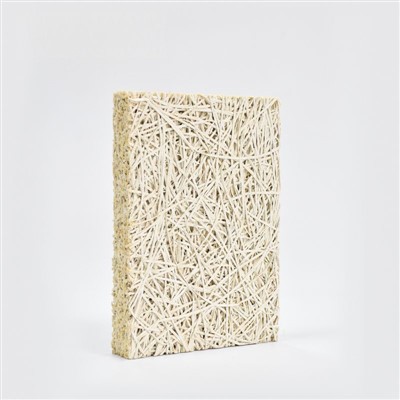
First, a quick refresher on what makes wood wool panels different from other acoustic materials. Unlike fiberglass, which is dense, soft, and meant to hide behind walls, or foam, which can feel flimsy and off-gas in new spaces, wood wool is made from interwoven wood fibers bound with cement-a mix that's natural, fire-resistant, and even adds structural stability to a wall when installed right. That durability, though, comes with a few non-negotiable steps to make sure the acoustic performance lives up to the promise of the material.
Step 1: Surface Preparation Isn't Just "Wipe It Down"
Many new installers assume wood wool panels can stick directly to any old wall, but that's a mistake. The panel's rear surface is porous (it's wood, after all) and will absorb moisture from a damp wall over time, leading to warping, mold growth, or even a loss of acoustic quality. Before you even pick up a fastener or adhesive, your base wall needs three things: it must be dry (less than 15% moisture content, tested with a moisture meter), flat (no uneven bumps or cracks more than 1/8 inch deep), and structurally sound (no loose paint, wallpaper, or crumbling drywall that would pull the panel off with it).
For interior walls, I always recommend a quick primer coat of paint or a moisture barrier if you're working in a basement or bathroom-adjacent space. For concrete walls, a self-leveling compound will smooth out any unevenness so panels sit flush, which prevents gaps that kill acoustic performance. One of our clients in Chicago tried skipping this step in their 1920s warehouse conversion, and within six months, half their wood wool acoustic wall panels were warped at the edges-costing them double to replace and re-install. Don't cut corners here.
Step 2: Adhesives vs. Fasteners-Which Is Right for Your Space?
Wood wool panels come in two main installation styles: adhesive-mounted and clip-and-framed. Both work, but each has specific use cases. Adhesive is perfect for small, residential spaces like home offices or bedrooms, where you want a seamless, clean look. But not all adhesives are created equal. You can't use regular white glue or construction adhesive-those don't have the structural strength to hold the panel's weight (each panel weighs roughly 2-3 pounds per square foot, so a 4x8 panel is 64-96 pounds!) and will break down over time, especially if the space has temperature fluctuations.


We recommend a heavy-duty, water-based construction adhesive designed for porous and heavy materials, applied in 2-inch wide beads every 12 inches across the panel's rear. For extra hold, space screws or nails every 16 inches around the panel's perimeter, but be sure to drive them slightly below the surface so the wood wool can be touched up with filler if needed.
For larger commercial spaces, like auditoriums or open-plan offices, clip-and-framed installation is the better choice. This method uses metal clips attached to a wall framework, so each panel slots into place without relying solely on adhesive. This is especially important for high-traffic areas where panels might get bumped, or spaces with variable humidity (like pool rooms) that would degrade adhesive. If you're looking for a more decorative edge, our Groove Wood Wool Acoustic Panel is designed to lock into adjacent panels, making clip-and-framed installation fast and creating a uniform, polished look that hides gaps between panels.
Step 3: Spacing and Placement Matter More Than You Think
Acoustic performance of wood wool panels depends on their ability to absorb sound, and that means they need to be placed where sound actually travels. A common mistake is installing panels only on one wall of a small room, which creates uneven echo. For best results in a rectangular room, place panels on the first reflection points-those spots where sound from a speaker or voice bounces off the wall before hitting your ears. In a 10x12 home office, that's usually the upper third of the front and back walls, and the midpoint of the left and right walls.
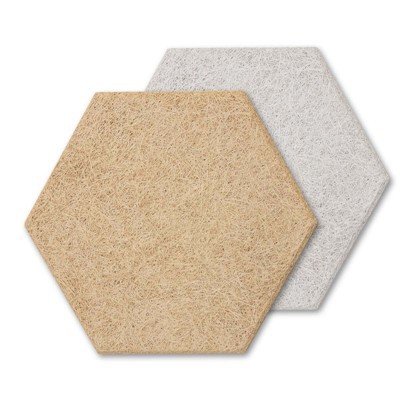
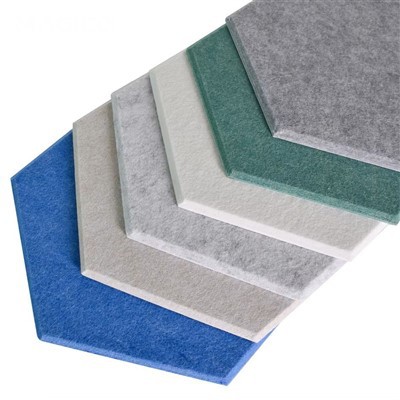
Another rule: don't install panels directly on the ceiling without a small air gap. Wood wool works best when there's a 1-2 inch space between the back of the panel and the wall/ceiling. This creates a "cavity" where sound waves can bounce, giving the fibers more space to absorb high and mid-frequency sounds. For ceilings, our Wood Fiber Acoustic Ceiling Tiles are specifically engineered for this, with a lighter weight and smaller fiber size that works well in ceiling cavities. And if you're going for a unique look, our Shape Of Wood Wool Acoustic Panel pages show off custom shapes-think circles, diamonds, or angled panels-that let you target specific echo hotspots, like under a staircase or in a narrow hallway.
Step 4: Acclimation Is a Simple, Easy Step Most People Skip
Here's one that trips up even professional installers: wood wool panels absorb and release moisture like wood, so if you unbox them and install them right away, they might expand or contract as they adjust to the room's humidity and temperature. That's a quick recipe for buckling panels or gaps forming along the edges. The fix is simple: acclimate the panels for 48 hours before installation, by laying them flat in the space where they'll be installed, propped up so air can circulate around all sides. For spaces with extreme humidity (like tropical climates or unheated warehouses), extend acclimation to 72 hours to make sure the panels are fully adjusted. We learned this the hard way a few years back, when a client in Miami tried installing unacclimated panels in a new restaurant-within a month, 10% of the panels had expanded so much they pushed out their frames. Now we always warn clients about this small step, and it's cut their warranty claims by 80%.
Step 5: Finishing Touches That Don't Hurt Performance
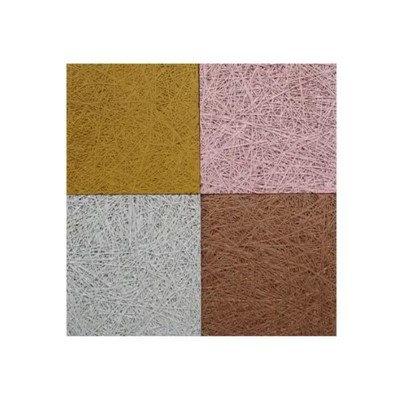
If you want to paint your wood wool panels (many clients love matching them to their interior design scheme), you have to use the right paint. Regular latex paint seals the wood fibers, which blocks their ability to absorb sound-one of the biggest benefits of the material. Instead, use a thin, water-based, breathably paint designed for porous surfaces. If you want a color that's more durable, we offer pre-painted panels as an option, like our Painted Wood Wool Acoustic Panel, which is painted with a specialized acoustic-grade paint that doesn't block the fibers. If you're painting panels yourself, always do two thin coats, let each coat dry fully, and avoid thick, oil-based paints that will clog the wood wool's pores.
Another finishing note: leave a small gap (1/8 inch) between panels, even if they fit tightly. This allows for minor expansion and contraction, and it also makes it easier to clean the panels over time-dust can be vacuumed off with a soft brush attachment without worrying about damaging the edges.
Final Thoughts: It's All About Balance
At the end of the day, wood wool panels aren't like drywall or wallpaper-they're a functional acoustic material that works with, not against, sound. The special installation requirements aren't there to make your job harder; they're there to make sure you get the full benefit of natural, durable, effective sound absorption. Whether you're outfitting a small home studio or a large office, taking the time to prep surfaces, acclimate panels, and place them in the right spots will turn a basic installation into a space that sounds as good as it looks.
If you're ready to order wood wool panels, or have questions about custom shapes, installation techniques for your specific space, or product specs, reach out to our team to discuss your needs and find the perfect solution for your project.
References
- ASTM International. (2021). Standard Test Method for Sound AbsorptionCoefficient of Acoustic Materials Using the Impedance Tube Method. ASTM C423-21.
- Wood Wool Acoustic Panel Industry Association. (2022). Installation Guidelines for Natural Fiber Acoustic Materials. NWAA Publication 007-2022.
- Building Science Corporation. (2020). Moisture Management for Wood-Based Building Materials. BSC Report 14-20.