Positioning and Marking: Based on the planned layout, use a pencil and a level to mark the installation positions of the acoustic panels on the wall or ceiling.
Installing the Frame (if needed): If the wall or ceiling is uneven, or if it's necessary to enhance the stability of the acoustic panels, you can first install a frame. The spacing of the frame should be determined according to the specifications and weight of the acoustic panels; generally, a spacing of 300-600mm is recommended.
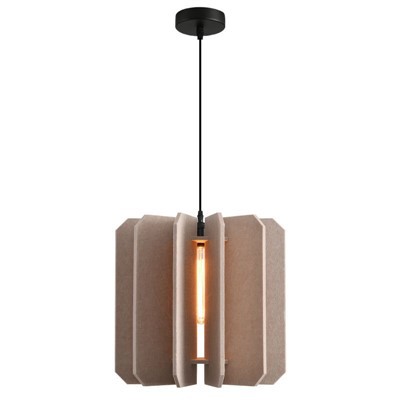
Securing the Acoustic Panels: Fix the soft upholstered acoustic panels onto the wall or ceiling at the marked positions one by one. If using a frame, attach the panels to the frame with screws or clips; if not using a frame, you can directly use specialized glue or double-sided tape to adhere the panels to the wall or ceiling. During the fixing process, ensure the panels are flat, without gaps, and tightly fitted against the wall or ceiling.
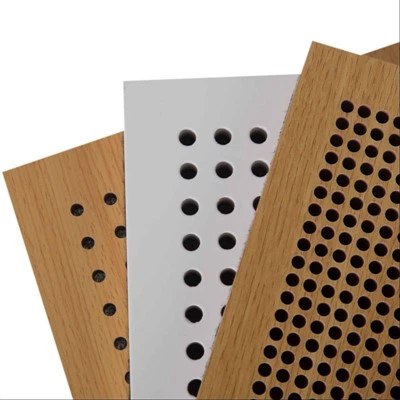
Cutting and Adjusting: During installation, you may encounter situations where the acoustic panels need to be cut. Use a cutting knife to cut according to the actual size, and ensure the edges are smooth and free of burrs. If gaps or uneven areas are found between the panels and the wall or ceiling during installation, adjust and repair them in a timely manner.