Surface Preparation: Before installation, ensure that the wall or ceiling surface is flat, dry, and free of grease.
If the surface is uneven, use putty to level it and sand it smooth (recommended flatness deviation ≤3mm/2m). For humid environments, perform moisture-proof treatment first to prevent mold later.
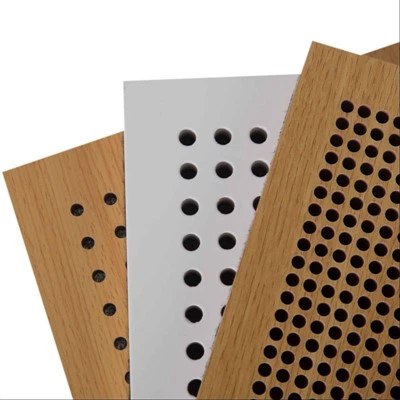
Marking Lines: According to the design drawings, use chalk lines to mark installation reference lines (horizontal and vertical) to ensure the panels are neatly arranged. It is recommended to control the joint width at 1-2mm to avoid deformation from thermal expansion and contraction.
Adhesive Application: Choose a dedicated eco-friendly adhesive (such as polyurethane glue or neoprene glue) and apply evenly to the back of the acoustic panel with a notched trowel (adhesive thickness about 1-2mm). Note that the adhesive must be applied within its open time (usually 5-15 minutes), as exceeding this time will affect bonding strength.
Installation and Fixing: Align the acoustic panel with the reference line and press it into place, tapping the surface lightly with a rubber hammer to remove air. For large area installations, it is recommended to start from the center and work outward to reduce cumulative errors. Corners need to be accurately cut with a utility knife (tilting the blade at 45° can reduce fraying).
Joint Treatment: Fill the joints with color-matched sealant (such as silicone), applying it continuously and evenly with a caulking gun. For situations requiring concealed nail holes, use matching decorative strips to cover them.