The installation steps for fiberglass ceilings vary slightly depending on the installation method (exposed grid or concealed grid), but the core process is basically the same.
General Steps for Fiberglass Ceiling Installation
Marking Lines
Use a laser level to mark the horizontal reference line of the finished ceiling on the surrounding walls. Based on the panel size and the spacing of the keel, mark the position lines for the main and secondary keels on the ceiling.
Installing Hangers
The spacing of the hangers is usually 900–1200mm. Use expansion bolts (such as φ6×40 or φ6×50) to fix the hangers to the structural floor slab. The hangers can be adjusted in height to meet flatness requirements.
Installing Main Keels
Attach the main keels (such as C38 light steel keels) to the hangers through hanger fittings, level them according to the horizontal lines, and stagger the joints to avoid concentration in one location.
Installing Secondary Keels
Install the secondary keels perpendicular to the main keels, with a spacing generally of 300mm or determined according to the panel module, ensuring the panels can be securely snapped in.
Installing Edge Keels (Edge Strips)
Fix L-shaped edge keels or edge strips along the four walls using cement nails or expansion bolts with a spacing ≤300mm to support the edges of the fiberglass panels.
Inspection of Hidden Work
Check whether the keel system is firm and level, and whether hangers and connectors are not loose. Only proceed to panel installation after confirming it meets design requirements.
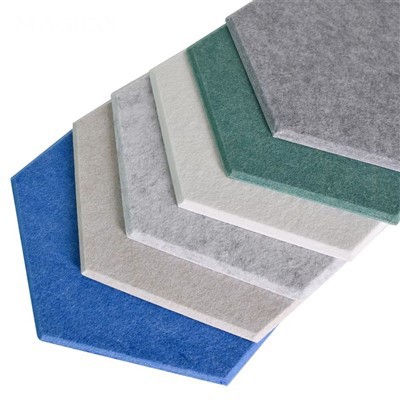
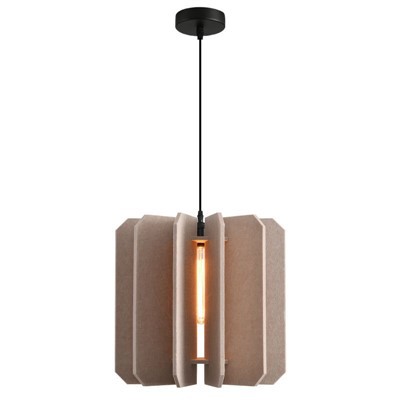
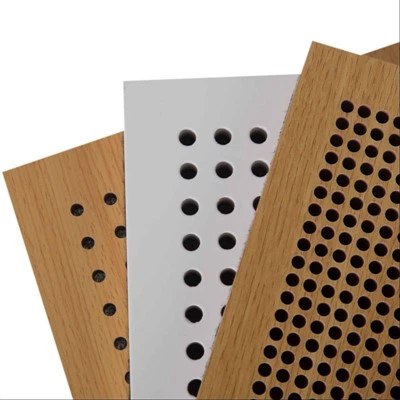
Installing Fiberglass Acoustic Ceiling Panels
Exposed Grid System: Snap the fiberglass panels directly into the T-shaped keels without additional fastening, making future maintenance convenient.
Concealed Grid System: Insert the panel edges into the keel slots, with no exposed keels visible, giving a better overall appearance.
In Special Cases: Strong adhesive can be used to directly stick panels onto a flat substrate (such as concrete slabs), suitable for light loads or localized areas.
Construction Acceptance
Check the panel flatness, seam uniformity, and installation firmness to ensure there is no loosening, warping, or contamination.